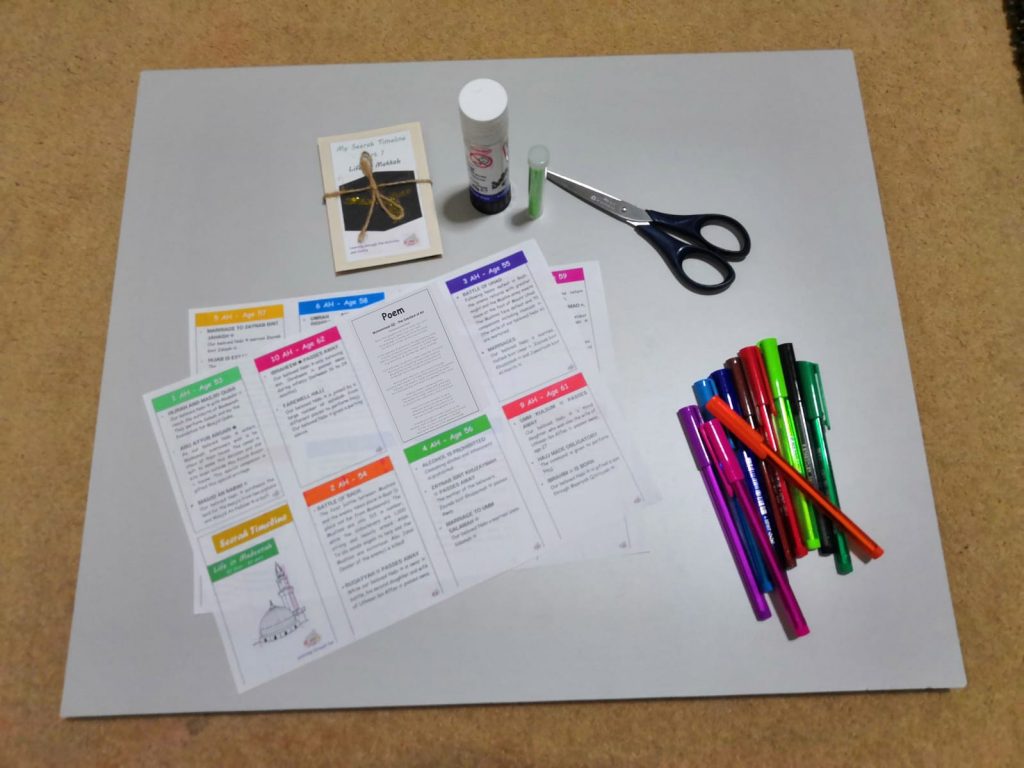
What You'll Need
● Coloured card
● Scissors
● Glue Stick
● Decorations (glitter/stickers)
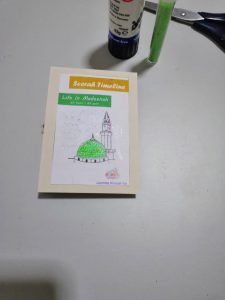
● Printout of seerah timeline Part 2
What You'll Do
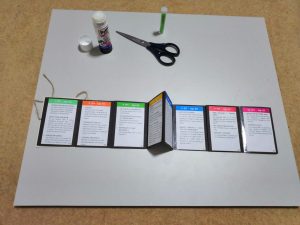
1. Cut your timeline boxes
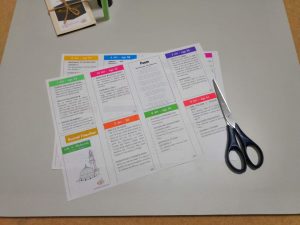
2. The boxes are jumbled up so first, you will need to sort them into the correct order. Once it is in order, you will be ready to start sticking them on to the back of your part 1 seerah timeline.
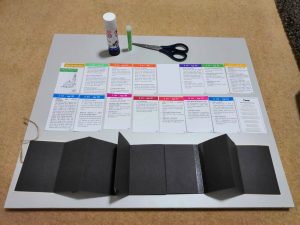
3. Once you are sure it is right glue the boxes down.
4. Decorate your front cover of part 2.
5. Glue down your front cover. It will be glued down on the side that you left empty when doing part 1
6. We still have one page left, so we will place a poem about our special Nabi ﷺ on this page.

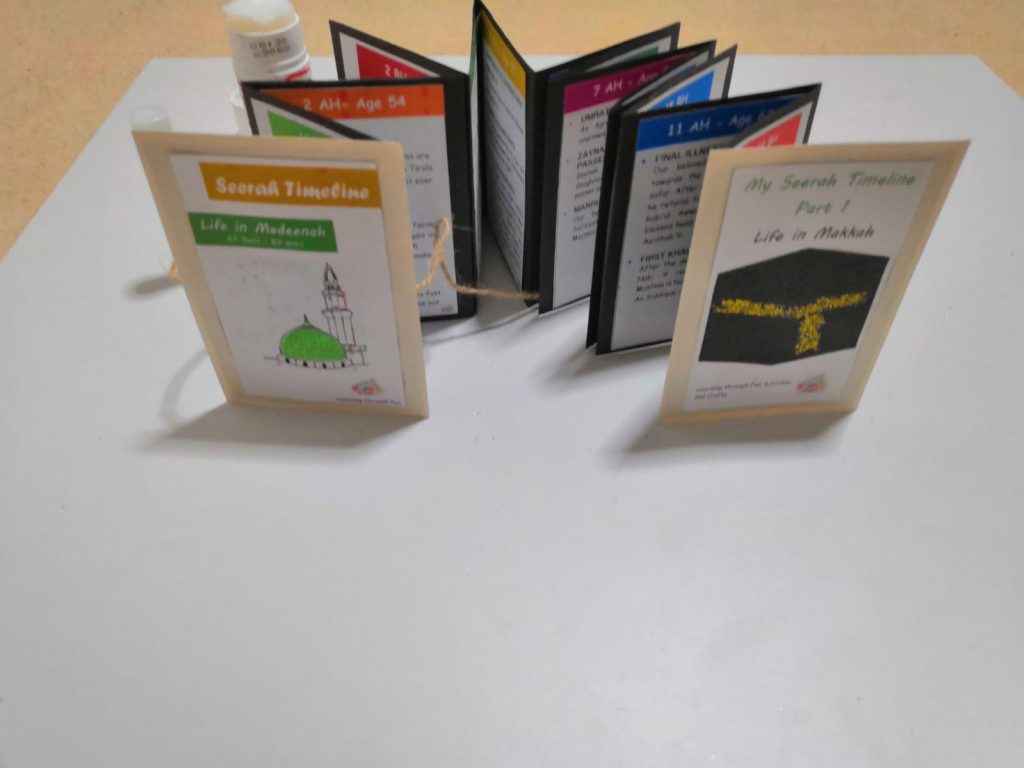
7. Your timeline is now ready!
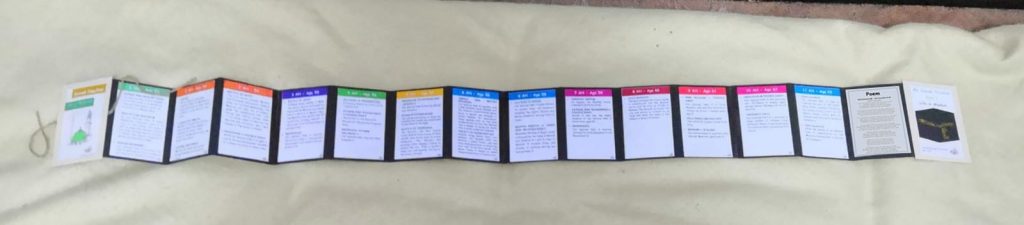
Your timeline is now finished