
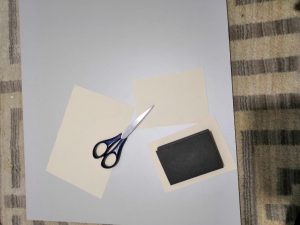
● A4 Coloured Paper
● Coloured card
● Scissors
● Glue Stick
● Ribbon / string
● Extra Decorations (Stickers/Glitter)
● Cello tape

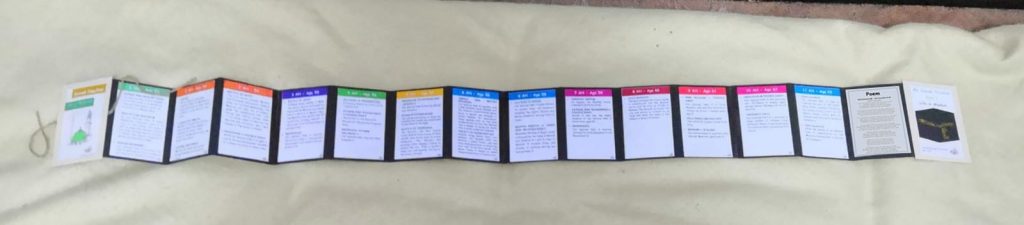
1. Get 2 sheets of coloured paper and cut in half longways

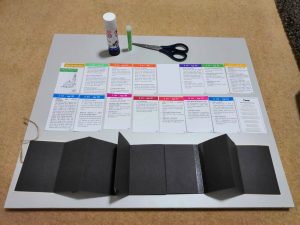
2. Fold each strip in half and then half again. When you open your paper up you should have 4 boxes per strip. Join the strips together to make a long strip of paper. (16 boxes in total)

3. Lay it flat in front of you.
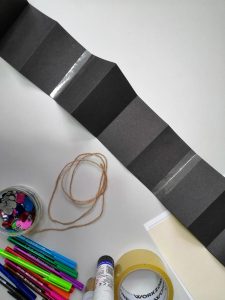
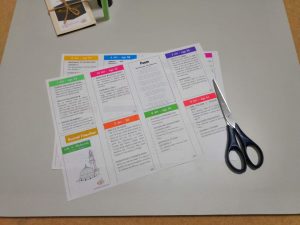
4. Cut your timeline boxes

5. The boxes are jumbled up so first, you will need to sort them into the correct order. Once it is in order you will be ready to start sticking them on to the coloured paper. (Remember to leave the front and back empty as your covers will go there)
6. Once you are sure it is right glue the boxes down
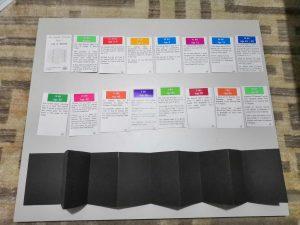
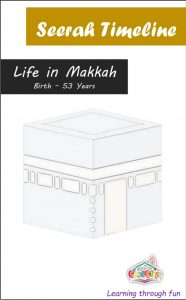
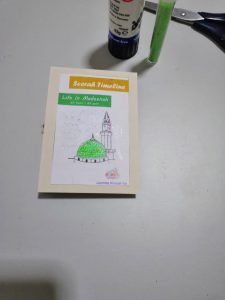
7. Get some card and cut 2 pieces making it slightly bigger than the size of your coloured paper. This is your front and back.
8. Decorate your front cover. Leave the back cover empty as we will be doing something else with that in our next activity.
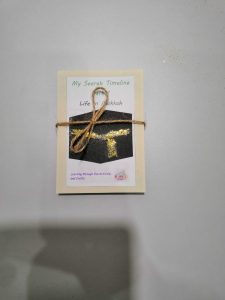
9. Glue a ribbon or string to the inside of your back cover and then glue the back of the timeline on to this. This will sandwich the string in between the cover and the back of the timeline.
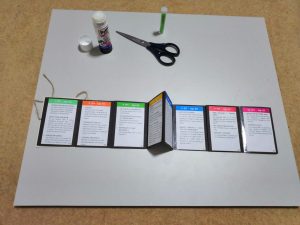
10. Glue down your front cover.
The first part of your timeline is now complete. Enjoy spending time looking through it and see how many dates you can remember.
Your book is not finished yet though. Next week we will be doing some more work on this timeline by adding part 2 to it. If you’re wondering where and how we will do this. Wait till the next activity is ready!
● Coloured card
● Scissors
● Glue Stick
● Decorations (glitter/stickers)
● Printout of seerah timeline Part 2
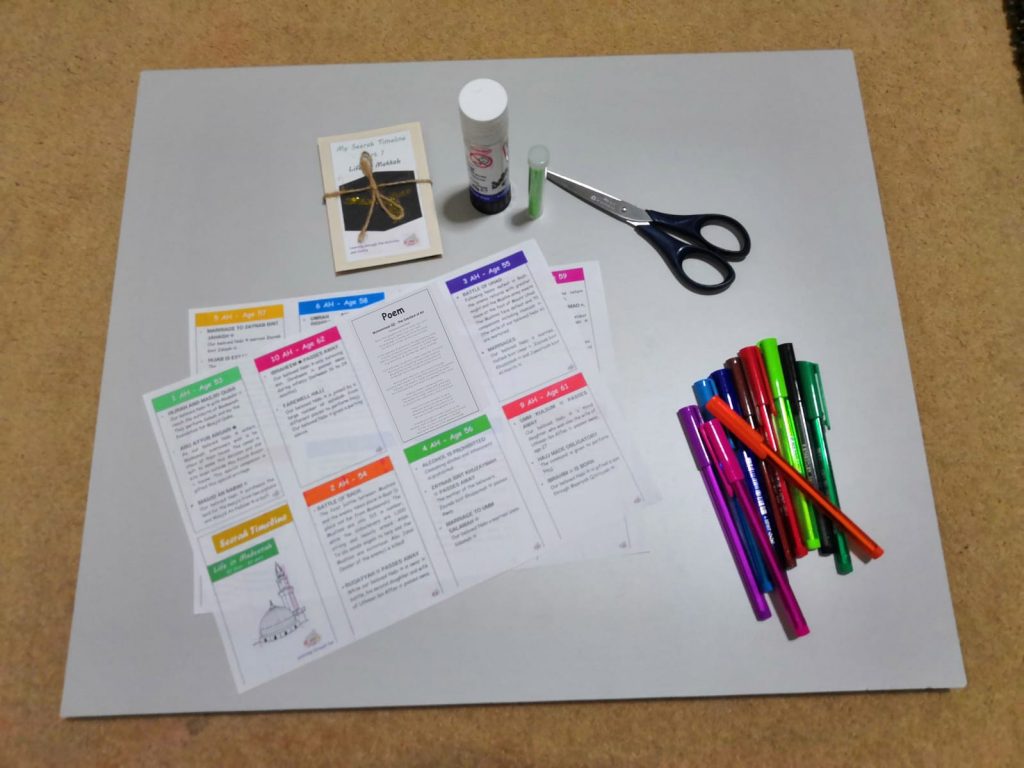
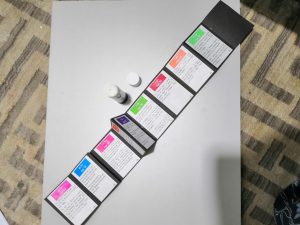
1. Cut your timeline boxes
2. The boxes are jumbled up so first, you will need to sort them into the correct order. Once it is in order, you will be ready to start sticking them on to the back of your part 1 seerah timeline.
3. Once you are sure it is right glue the boxes down.
4. Decorate your front cover of part 2.
5. Glue down your front cover. It will be glued down on the side that you left empty when doing part 1
6. We still have one page left, so we will place a poem about our special Nabi ﷺ on this page.

7. Your timeline is now ready!
Your timeline is now finished